Installing a Wireless Monitor & Rear View Back-Up Camera System for your car
In the example video below we are installing a Back-Up Camera System, Model ACA250, which is a Wireless monitor and rear view camera system for backing up your car, but the same steps are commonly used for most Back-Up Camera Systems.

1. Take off your license plate at the back of your car.
2. Remove the car’s Reverse Tail Light so as to access the backup lamp wires.
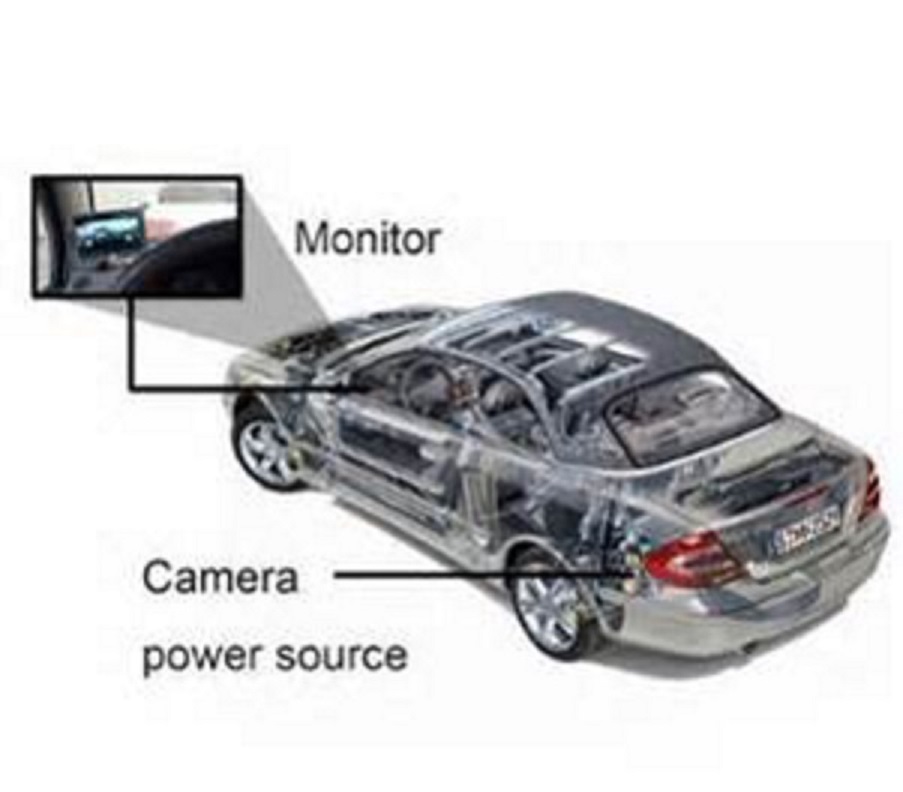
3. Connect the camera’s power leads to the reverse light of your car to get the power – red wire for positive and black wire for negative.
4. Connect the power cable leads running from the Reverse Light, or ‘tail light’ to your camera, via the trunk to behind the License Plate.
5. Put back the Tail light and the License Plate.
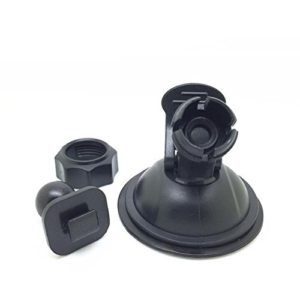
6. Fix the camera’s bracket to the license plate where the bottom two screws are situated, using those screw holes to fix it in.
7. Position the Monitor on the front dashboard of the car or wherever you decide to put it, making sure that it will not block your view while driving.
8. Connect the wireless Monitor (the receiver) to a power lead running to your car battery or cigarette lighter (or the reverse/gear wire) to get the power – red wire for positive and black wire for negative.
9. After complete installation, you should see the rear view image when your car is in reverse shift.
Please check any manual or instructions that came with your Backup Camera when going through this, just for your reference.


